Tuesday, August 28, 2012

Week 2: Tape Manicure

Hey everyone!

Today I am going to show you a new nail art technique. Just as the name of this manicure sounds, it uses tape to make interesting designs.  It can be time consuming, but gets easier the more you do it.  Look below to see my tape manicure!


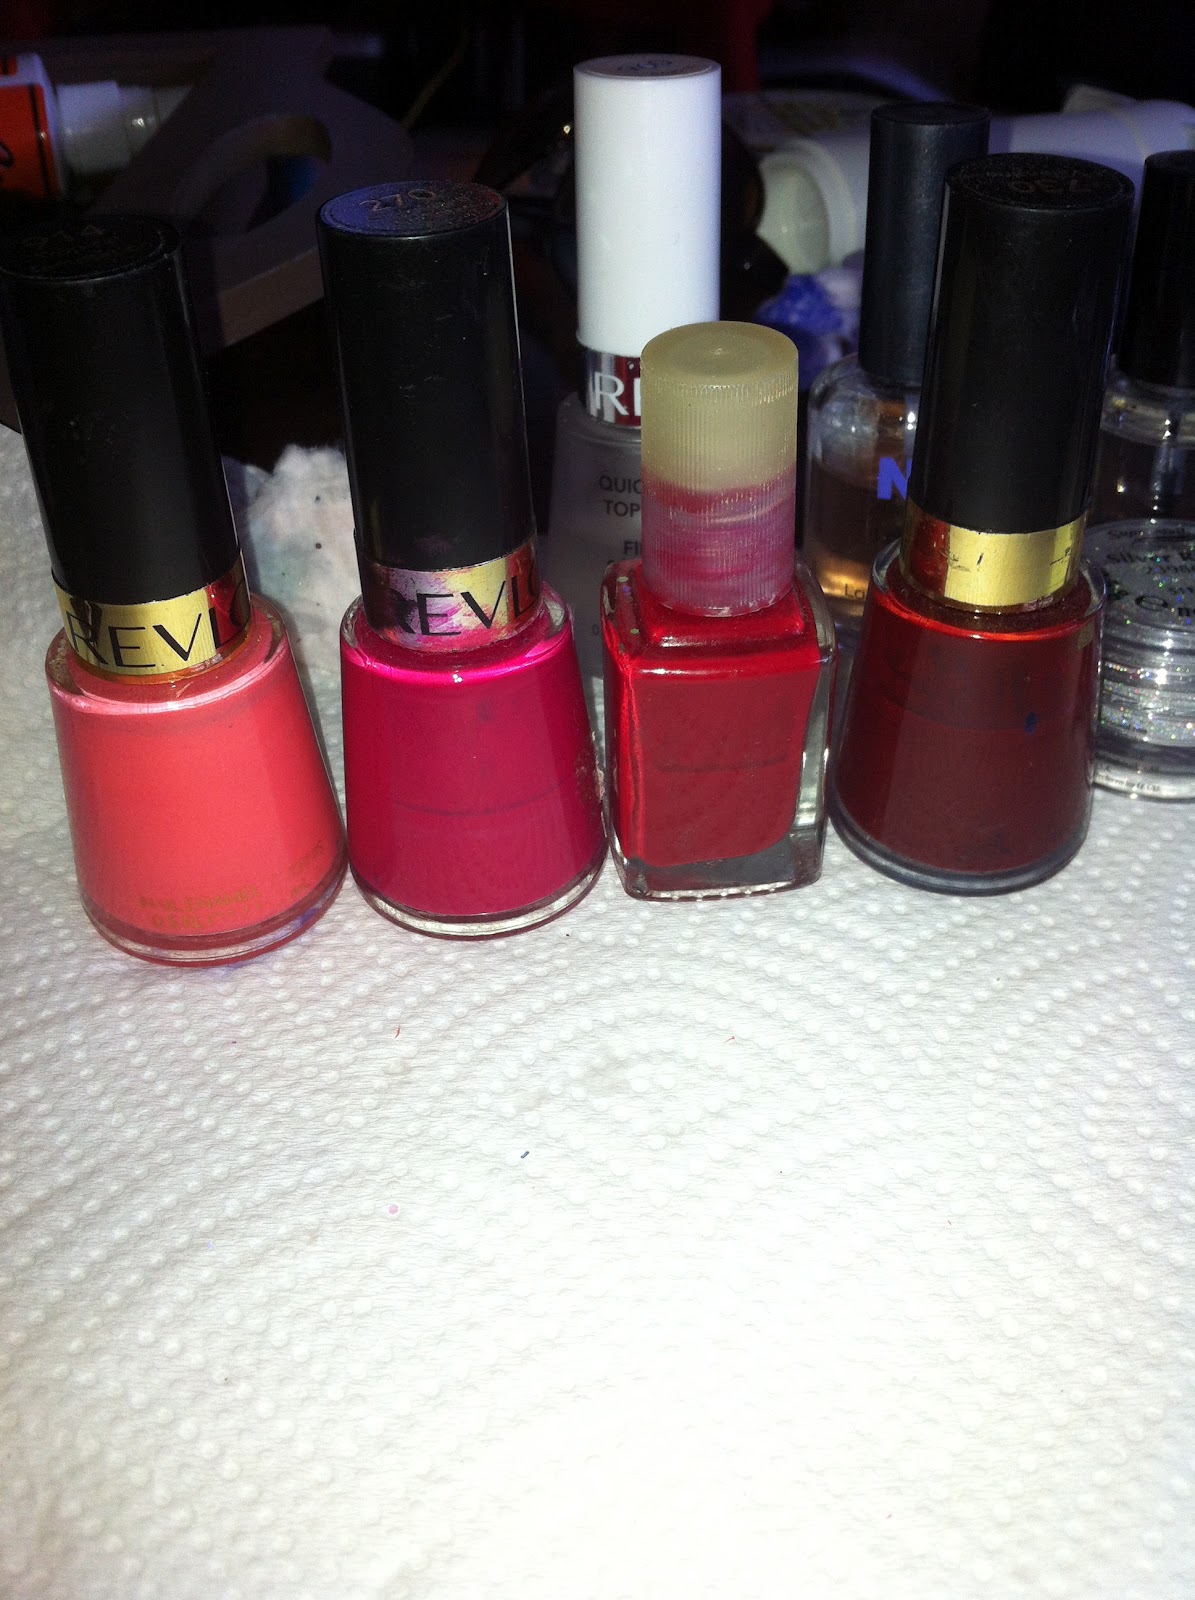
So, for this manicure I started with a base coat. I used Seche Natural as a base coat followed by Revlon Touch of Mauve.  After both of these were completely dry, I added my Revlon Quick Dry Top Coat.  I waited about 10 min for all of this to dry completely. 

After the bottom colors are dry, I took some scotch tape. I taped it to my arm about 3 times and removed it so that it wasn't quite so sticky. I used my nail scissors to cut it into strips in the design I liked and placed it on my nail.  


 After it was on my nail, I simply painted on my top color.  For this, it is best to use a color that gets full coverage in one coat.  I used Orly Purple Velvet, which is actually a matte color.  I bought this color about 2 years ago, but have only used it one other time because I found that when you have a matte dark purple color on your nails by itself, it just looks like you accidentally closed your hand in the car door and your nails are black and blue.  BUT, as a top coat, the contrast to the shiny bottom pink color looked nice! 

After you paint this on, you need to remove the tape quickly. If you let the top color dry before taking off the tape, it will tear the color off.


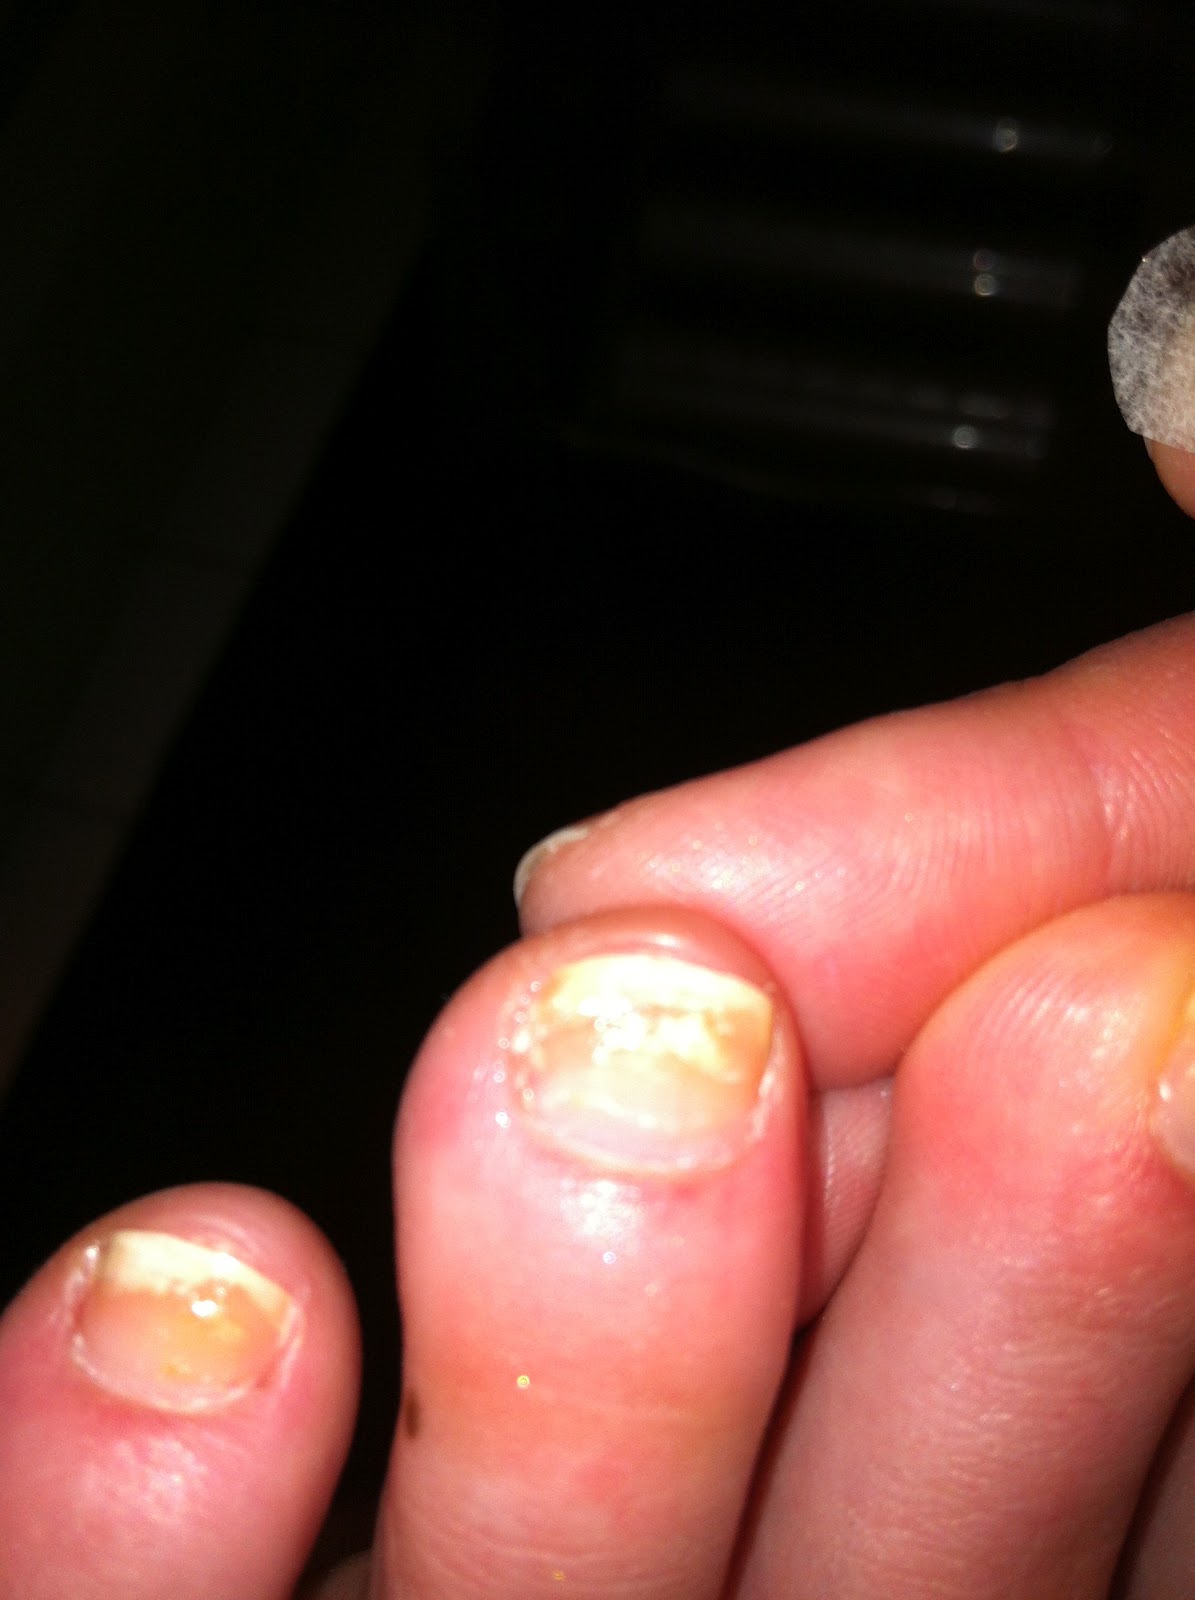
My original idea was to use a matte top coat instead of the two colors to make my design shiny and matte. I know that Essie makes a matte top coat called "Matte about you" that will make any color you put under it matte. I looked everywhere for this and was unable to find it. What I did find was a Seche base coat called Seche Natural.  I thought that if I just used this as a top coat it would make the polish matte, but as you can see form the picture above, it didn't really work.

Anyway, this is a good way to make nail art with straight lines if you don't have a steady hand.  Do you think you will rock a tape manicure? If you do, send me pics!


Wednesday, August 22, 2012

Glitter polish: No more Waity, Katie

Earlier this week Steve wanted to drive all the way to Warwick to go to Guitar Center, so while we were there we also stopped at Ulta.  He was a good sport and even helped me pick out some new polish colors. 

I was very excited to get my first butter london polish because I have heard good things about this brand. All butter london polishes are 3-free.  Also, despite their name, the brand is manufactured in the USA, not England.   The polish I got is called No more waity, Katie. Apparently this shade was named for Kate Middleton after she got engaged to Prince William.  It is what I would call a greige polish (grey beige) with lilac glitter. This polish is a "jelly" polish.  

Let me explain what I mean by jelly.  When a polish is described as jelly, it means that it is semi-transparent. Similar to jelly in a jar, after several coats you can't see through it, however it is never totally opaque. Light just seems to travel through the layers, making it look "squishy"

Anyway, this polish was beautiful in the container. Application was a little tricky.  I had to apply 4 coats to get full coverage.  But, the color was very pretty, and it dried almost instantly so it didn't take forever to apply. I have read some other reviews,  and it seems that the company may have changed the formula of this polish shortly after its initial release.  Early reviews seem to say that it chipped very easily and applied unevenly. My experience was that it took several coats to become the color in the jar, and that you have to work quickly because it dries so quickly.  I do like this shade, and it is truly unlike anything else in my collection. 


This swatch makes it look slightly more blue-ish than it actually is. Like I said before, It is a grey base with lilac colored glitter.  This is after 4 days of wear, and look, no chips. I do have a little tip wear, but overall, the polish is staying on pretty well. 

What do you think of this shade? would you wear it? Have you tried any other butter london polishes? Do you love them or hate them? 

Also, let me know if you are rocking a cool glitter look this week! 

Tuesday, August 21, 2012

Join me in a nail art challenge!

Starting tomorrow I am going to do a new nail art challenge each week!  You should all join me in doing this nail art challenge!  Sometime during each week,  I will post a new manicure and explain each technique to you! If you decide you want to try it, send me a picture of your manicure or show it to me next time we see each other and I will post it on my blog as well!

Below are the themes for each week


Design 1 - Glitter
Design 2 - Tape manicure
Design 3 - Floral Wallpaper
Design 4 - Galaxy
Design 5 - Gradient
Design 6-  Newspaper
Design 7 -  Famous artwork inspired
Design 8 - Water Marble
Design 9 - Animal print
Design 10 - Marine Life
Design 11 - Seasonal (Christmas, Easter, St. patrick’s, Halloween, etc.)
Design 12 - Abstract Shapes
Design 13 - Zigzags
Design 14 - nail foil
Design 15 - Beloved Childhood Character (Hello Kitty, Mickey Mouse, etc)
Design 16 - half moon
Design 17 - Video Game
Design 18 - Butterfly wings
Design 19 - Fruit
Design 20 - Splatter
Design 21 - Alice in Wonderland
Design 22 - Fans pick! (you guys tell me what to do)
Design 23- Feathers
Design 24- Lace


If you want to send me pictures of your manicure just leave me a message and I will tell you my e-mail.

Sunday, August 19, 2012

Disco Diva Nails!

Glitter nail polish is a great way to add a touch of sparkle to an otherwise plain manicure. But, unless you put about 30 coats of polish on there, glitter lacquer won't ever give you full glitter coverage. What happens when you want IN YOUR FACE DISCO NAILS because you just absolutely need bling bling in your life?

This is what happens....


Below, you will find an easy technique to get full coverage disco ball nails! 
For this look, you will need the following supplies:

Base coat
Color coat
Clear nail polish that is not quick dry
Small paintbrush
Fine grain glitter

Note: For the fine grain glitter, I used Supernail glitter in Silver Rush. I got it at Sallys Beauty Supply.  Your glitter does not have to be made specially made for nails to be used for this. 

Directions:

1.  Paint base coat on nails, then paint color coat on. Whatever you use as your color coat will be visible through the glitter slightly, so choose one you like!

2.  Take your clear nail polish and stick your paintbrush in it. Get a medium amount on the brush. Then, stick your brush in the pot of glitter.


3.  You should only have a small amount of of glitter on your brush. Paint the glitter onto your nails. If you need to, stick your paintbrush back into your polish and glitter to get more glitter. If it starts to get a little chunky, just use a little more of the clear polish.  

This is about the amount of glitter you need on your brush for a smaller nail. 

4.  When you are done, use a top coat. I used Seche Vite instead of my typical Revlon because Seche Vite is thicker, and will cover up the texture of the glitter. That way, if I touch my nails they are nice and smooth. Here is the finished manicure again!


Thursday, August 16, 2012

Gradient Nails

The "Fade" is a pretty popular thing in clothes right now.  This trent is one in which the color fades gradually from one color to another.  It has also become pretty popular on nails.  On nails, I have heard it referred to as "the fade", "the gradient manicure" and "sponging".  There are several different methods to do this.  I have tried many of them, and below I am going to show you the method I found the easiest.

The "fade" on a dress.

The fade on my nails!


Cool right?  It is actually easier then it looks. 

Supplies: 

3-4 nail polish colors.  Do not use quick dry formula. 
Makeup sponges
q-tips
Polish remover
Base and top coat
Small cup of water

Directions:

1.  Paint base coat on your nails. After base coat is dry, paint your lightest color over entire nail.


2.  After the first color coat has dried, take all your colors and line them up from lightest to darkest. Unscrew the caps of each color. You want to have everything ready so that you can work quickly.   Take your makeup sponge and dip it in some water. Squeeze 80% of the water out of the sponge. This is very important because if you do not get the sponge wet, it will soak up too much polish and the polish will not go on evenly.


3.  Start at the edge of the makeup wedge and paint a thin strip of your darkest color.  Paint a thin strip of each color, from dark to light.  Go over each color once more.


4.  Take your sponge and press it firmly on a piece of paper or paper towel. You will notice that the more you press the sponge, the more the colors blend. Next step, press sponge onto nail.  You can press twice at slightly different spots if you notice the color is not blended enough.  Make sure you press with firm even pressure.


5.  You will notice that the polish gets all over your skin, and has the texture of the sponge. The skin issue is easily cleaned up by using a q-tip dipped in polish remover. The texture issue is fixed by putting a top coat over.

My nails before cleanup. 

6.  Paint your top coat on and you are all done! 


Other tips:

Do not use quick dry polish for your gradient. It will dry before you have a chance to get it onto your nail.  

I found this a little more difficulty to do with metallic polishes, because most of them also dry rather quickly.  

The wet sponge is very important to make this come out correctly.

Remember to press the sponge firmly against nail so that you get the edges of your nail as well. 

For this manicure, I used the following polishes.
Revlon Quick Dry Base Coat
Revlon Tropical Temptation
Revlon Cherries in the Snow
mystery polish I have had for years
Revlon Valentine
Revlon Quick Dry Top Coat

Friday, August 10, 2012

Piggy Polish!

As some of you may know, I am sort of obsessed with getting a miniature pig as a pet. Why would you want a pig as a pet, you may ask. Well, first of all, mini pigs only get to be between 20-30lbs, about the size of a smallish dog. Also, pigs are incredibly intelligent, and can be trained to do tricks and walk on leashes. They also can be trained to go to the bathroom in a litter box.  Pigs aren't naturally smelly. Pigs lack sweat glands, so they roll around in mud (and poop) to cool off. Being dirty makes pigs smelly.  If you have an indoor pig, they cannot roll around in mud, and are therefore not smelly.

Isn't this the cutest thing ever?

Anyways, there are no mini-pig breeders in Connecticut. Also, if you are going to buy a mini-pig, you better make sure you look at the pig parents and make sure they aren't 300lb hogs. Nothing would be worse than buying what you thought was a mini-pig only to have it grow into a 300lb hog. Especially when you live in an apartment.  Someday when I get a house with a yard, Steve and I are going to take a road trip and go look at mini-pigs.  Anyways, since I can't have a mini-pig right now, I have resorted to collecting pig things.


Pig wall hanging and salt and pepper shakers, which I also collect. 

Anyways, take a look below at my pig manicure! This was done with acrylic paints over my shellac manicure. The best part about this was that if I made a mistake, it was super easy to get the acrylic off of the shellac. I just had to rub the nail with my fingers and it pealed off. When I was done, I applied a regular polish topcoat to keep this from happening. 


My ring finger is bacon. This is because I ran out of ideas for the last nail. Don't worry, if I had a pet pig, I would never eat it! My pets are like children to me, they are the most spoiled animals ever! 


What do you think of my pig manicure? Do you want to get a pet pig too? Do you know of any mini-pig breeders or anyone who has a pet pig? 


Thursday, August 9, 2012

Shellac Attack!!

Hello!
I realize that I have been a little bit lame on my posting this week. So... today I am going to show you guys a tutorial for how to properly apply shellac nail polish.

 For those of you who don't know, Shellac is a "gel-polish hybrid" made by CND (Creative Nail Design).  It was released back in April of 2010, but has really gained popularity within the past year.  It gives you a shiny 14 day manicure without chips, peals or breaking. I find that when I use it, my nails tend to grow longer because it adds just enough thickness so that they don't break off.  Shellac uses a UV light to cure, so it has no dry time except for application process itself.

What is the difference between shellac and acrylics or gels?  Well, shellac is supposedly better for your nails because the application and removal process requires no fileing. If you have been to a salon and gotten a shellac manicure which involved fileing, your nail tech was doing it wrong.  Shellac is also easier to apply because it paints on just like nail polish.

I first got a shellac manicure in a salon, but then decided to buy the supplies to do it at home.  I bought mine online at amazon.com.  If you are looking to purchase shellac, make sure that any product you buy is actually shellac. There are other products out there, such as gelish, which are similar, but not the same.  You cannot use gelish with a shellac color or base/top coat and vise versa.

Anyways, if you are interested in doing shellac at home, check out my tutorial below.

Supplies:
Shellac base coat
Shellac top coat
Shellac color
36 wat UV lamp with 4 bulbs (I bought one called uspicy lamp off amazon)
Scrub Fresh (A mix of acetone and rubbing alcohol)
99% isopropyl alcohol (I bought this online, rubbing alcohol in standard drug stores is only 70%)

My shellac supplies

1.   Do a basic dry manicure. Push back cuticles. File nails to whatever shape you want. Do not buff nails.

2.  Use scrubfresh on a cotton pad and gently scrub each nail, like you would with polish remover.

3.  Paint on thin layer of shellac base coat. Make sure you cap your ends. This is very important, because if you don't cap them correctly, the shellac will chip or peal off early. Also, if you get any polish on your skin or cuticles, use an orange wood stick to remove it. If shellac is on your skin, it will lift off the polish and peal.

4.  Place your hands in the UV light. For the base coat, you only need to place them in for about 20 seconds.


My UV light. 

5.  Apply thin layer of color coat of your choosing. I chose to use romantique. This is a very sheer, pale pink shade.  Cap your ends.  Place your hand in your UV light again.  For all color coats, you need to keep your hand in the UV light for 120 seconds. My light has an automatic timer and shuts off after this time period.

6.  Apply second color coat following same steps as 5.

Shellac Romantique with 2 coats on the first three fingers, and only 1 coat on the last 2. See how sheer it is?

7.  Apply top coat using same steps as 5.

8.  Use 99% isopropyl alcohol on a cotton ball. Lightly swipe over nails. This will remove the sticky layer and give your nails a shiny finish.

9.  Go do whatever you want!  Your manicure is now 100% dry and ready for all the dishwashing, key grabbing, whatever you need to do for the next 14 days! Kiss chips goodbye!

My complete shellac manicure.  That is paint on my thumb, not polish.  

If you think shellac is not for you because you like to change your polish color frequently, think again! You can paint regular polish over shellac if you want. It will keep it from chipping!  To remove regular polish without taking the shellac off, just use a non-acetone polish remover.


Sunday, August 5, 2012

Nautical Nail Art

Hello everyone,

Earlier in the week, I was super excited because this week are going to put my brothers new sailboat "Riders on the storm" in the water for the first time!  This inspired some nautical themed nail polish.


A sailboat and anchor! I love accent nails! 

The base color for this polish is Revlon "Fashionista" It is a wonderful blue-green shade.  Not quick dry.  Revlon formulas always apply smoothly and this polish was full coverage in 2 coats. The brush for revlon polishes is easy to work with and medium thickness.  

To paint the sailboat, I started with the red bottom. I used my acrylic paints.  After painting the bottom, I made a straight line using the brown from the base of the boat to the top. 


After that, I just painted little triangles on either side of the pole with white for the sails. 


When you are done, you can go back and touch it up with any of the colors you want. I thought I painted the sail on the left a little too big, so I went in with my nail art brush and put a little more nail polish over that area. I also accidentally got some white paint on my index finger nail, and I used the regular polish to cover that up as well. 


Friday, August 3, 2012

How to fix a broken nail

Doesn't it suck when you are trying to grow out your nails, then one nail breaks?

Well, today I am going to show you how to fix a broken nail so you will never have to clip all that awesome length off.  The pictures today are of my toes, because I didn't have a broken fingernail, but I stubbed my toe a while ago and broke that nail. 

Supplies:
1 teabag
scissors
nail glue 
nail file


Look at my poor broken toe after being stubbed on something months ago. my toenails are orange because i just took off neon orange polish. I don't have fungus!!

1.  Take broken edge of nail and place small amount of nail glue on crack to hold it level with the rest of your nail.  You can use tweezers to make sure the edges lined up while waiting for the glue to dry, or just hold it in place yourself. 


2.  Take your teabag and empty it out.  Cut section of teabag to fit size of nail.  it doesn't have to be exact, just close. Do not cut it too large. If the teabag patch hangs over the nail or touches the skin, it will lift off your nail. 


3.  Apply small amount of glue to nail and use tweezers to press teabag patch onto nail. Make sure that it completely covers the crack in your nail.  Do not allow any air bubbles underneath the patch, as these will make it lift off, and also make you more prone to getting a fungal infection under there.  Also, do not hold it on too long or your will glue your fingers and/or tweezers to your nail as well.  

This is my nail after the patch is applied. It turns clear when the nail glue comes into contact with it, but the surface is a little rough still.

4.  Apply a small amount of nail glue over patch again.

5. File lightly with nail file to even out surface. The smaller the grit of the file, the smoother the nail will be. I used my trusty crystal file.  


6.  Paint your nails with some pretty polish!  It should look nice and smooth, just like your natural nail but a little sturdier.  This should last about 2 weeks, but can last even longer if you apply it correctly. The key to making it last it to be gentile and apply it correctly.  This will allow your new nail to grow out until the crack is ready to be cut off. 


Do you have any other tricks for fixing cracked nails? What are they? 


Update:  This is my nail 2 weeks later. The nail has grown enough to cut off the broken part, and my nail fix has fallen off while taking off my regular polish with some remover.


Wednesday, August 1, 2012

Safter nail polishes


Now that you have all this information about potential toxins in polishes, what nail polishes are safe for you to use?  Well, here is a list of some common brands that area all 3-free, 4-free, 5-free and even water based. Although the new polishes being sold by these brands are free of toxic chemicals, older formulas may still contain toluene, DBP or formaldehyde.  You should check the ingredients on your bottles before use. Click on the links to be taken to the site for each brand. 

3-free (No toluene, dibutyl phthlate, or formaldehyde)

Finger Paints

4-Free (Free of formaldehyde resin)
MAC
Milani
N.Y.C 
Orly 

5-Free (Free of formaldehyde resin and camphor)

Chanel


Water based polishes (5-free and free of ethyl acetate)

Acquarella 
Honeybee Gardens
Sula    Sula polishes also peal off like rubber, just like those polishes you had when you were little!
Suncoat