Wednesday, October 17, 2012

10 Halloween nail art ideas!

Need some help getting into the Halloween spirit this year?? I had way too many exciting ideas for halloween nail art, so I decided to do them all.   So, if you are looking for some cool nail art to get you in the spirit of halloween,  here is your inspiration! Below I have 10 nail art ideas all inspired by halloween!

blood drips, frankenstein, shatter, ghost, french


jack skellington, candy corn, mummy, spider web, pumpkin

To do all of these nail art designs, I painted the base color of the nail with polish, then used acrylic paints for the details.  I used a nail art brush and dotting tool with the acrylic paint, and of course topped it off with a top coat of polish to make sure the acrylic didn't wash off.

What do you think? Would you rock any of these cool nail art designs? Would you paint all your nails the same, use one idea as an accent nail, or paint them all different like I did?


Friday, September 21, 2012

Galaxy Nails

Here it is as promised, a tutorial on how to do Galaxy nails.  In case you couldn't guess from the name, this nail art is inspired by the stars.


For this nail art design, you will need the following:

black polish
white polish
dark blue or dark purple polish
gold polish
copper polish (optional)
silver glitter polish
makeup sponge
water

1.  First of all, paint a base coat on your nails. Follow by painting a black base. Make sure your polish is completely dry.  

2.  When polish is completely dry, take your makeup sponge and dip it in water. Squeeze out most of the moisture.  Paint thin line of white polish on makeup sponge.

3.  Dab makeup sponge on paper towel several times. Then, dab on your nail. Do not cover entire nail, just a small portion.


4.  Take makeup sponge and paint over white polish with copper polish. Again dab onto nail in center of white polish. Do not cover entire white portion.  Repeat with gold polish


5.  Dab around edges of "galaxy" with blue polish to soften edges and blend into black.  

6.  (Optional) use white dotter tool to make small stars with white polish.

7.  Finish with layer of silver glitter and top with top coat.  


Do you think you will try this trend? It looks way cooler in person!

Thursday, September 20, 2012

I'm back!!

Hello everyone!

Its been quite a while since my last blog post, and I know that I totally missed the past two weeks nail art themes! Thats because this past month has been super crazy because Steve and I got ENGAGED!!  So, instead of doing my typical nail art, I simply painted my nails a classic color because I didn't want any nail art to take away attention from my beautiful ring!

In the next few days I will be playing catch-up to show you a "galaxy nail" tutorial, but for now check out my color pick to show off my engagement ring!


This color is Revlon but I can't find the bottle to remember what shade

Tuesday, August 28, 2012

Week 2: Tape Manicure

Hey everyone!

Today I am going to show you a new nail art technique. Just as the name of this manicure sounds, it uses tape to make interesting designs.  It can be time consuming, but gets easier the more you do it.  Look below to see my tape manicure!


So, for this manicure I started with a base coat. I used Seche Natural as a base coat followed by Revlon Touch of Mauve.  After both of these were completely dry, I added my Revlon Quick Dry Top Coat.  I waited about 10 min for all of this to dry completely. 

After the bottom colors are dry, I took some scotch tape. I taped it to my arm about 3 times and removed it so that it wasn't quite so sticky. I used my nail scissors to cut it into strips in the design I liked and placed it on my nail.  


 After it was on my nail, I simply painted on my top color.  For this, it is best to use a color that gets full coverage in one coat.  I used Orly Purple Velvet, which is actually a matte color.  I bought this color about 2 years ago, but have only used it one other time because I found that when you have a matte dark purple color on your nails by itself, it just looks like you accidentally closed your hand in the car door and your nails are black and blue.  BUT, as a top coat, the contrast to the shiny bottom pink color looked nice! 

After you paint this on, you need to remove the tape quickly. If you let the top color dry before taking off the tape, it will tear the color off.


My original idea was to use a matte top coat instead of the two colors to make my design shiny and matte. I know that Essie makes a matte top coat called "Matte about you" that will make any color you put under it matte. I looked everywhere for this and was unable to find it. What I did find was a Seche base coat called Seche Natural.  I thought that if I just used this as a top coat it would make the polish matte, but as you can see form the picture above, it didn't really work.

Anyway, this is a good way to make nail art with straight lines if you don't have a steady hand.  Do you think you will rock a tape manicure? If you do, send me pics!


Wednesday, August 22, 2012

Glitter polish: No more Waity, Katie

Earlier this week Steve wanted to drive all the way to Warwick to go to Guitar Center, so while we were there we also stopped at Ulta.  He was a good sport and even helped me pick out some new polish colors. 

I was very excited to get my first butter london polish because I have heard good things about this brand. All butter london polishes are 3-free.  Also, despite their name, the brand is manufactured in the USA, not England.   The polish I got is called No more waity, Katie. Apparently this shade was named for Kate Middleton after she got engaged to Prince William.  It is what I would call a greige polish (grey beige) with lilac glitter. This polish is a "jelly" polish.  

Let me explain what I mean by jelly.  When a polish is described as jelly, it means that it is semi-transparent. Similar to jelly in a jar, after several coats you can't see through it, however it is never totally opaque. Light just seems to travel through the layers, making it look "squishy"

Anyway, this polish was beautiful in the container. Application was a little tricky.  I had to apply 4 coats to get full coverage.  But, the color was very pretty, and it dried almost instantly so it didn't take forever to apply. I have read some other reviews,  and it seems that the company may have changed the formula of this polish shortly after its initial release.  Early reviews seem to say that it chipped very easily and applied unevenly. My experience was that it took several coats to become the color in the jar, and that you have to work quickly because it dries so quickly.  I do like this shade, and it is truly unlike anything else in my collection. 


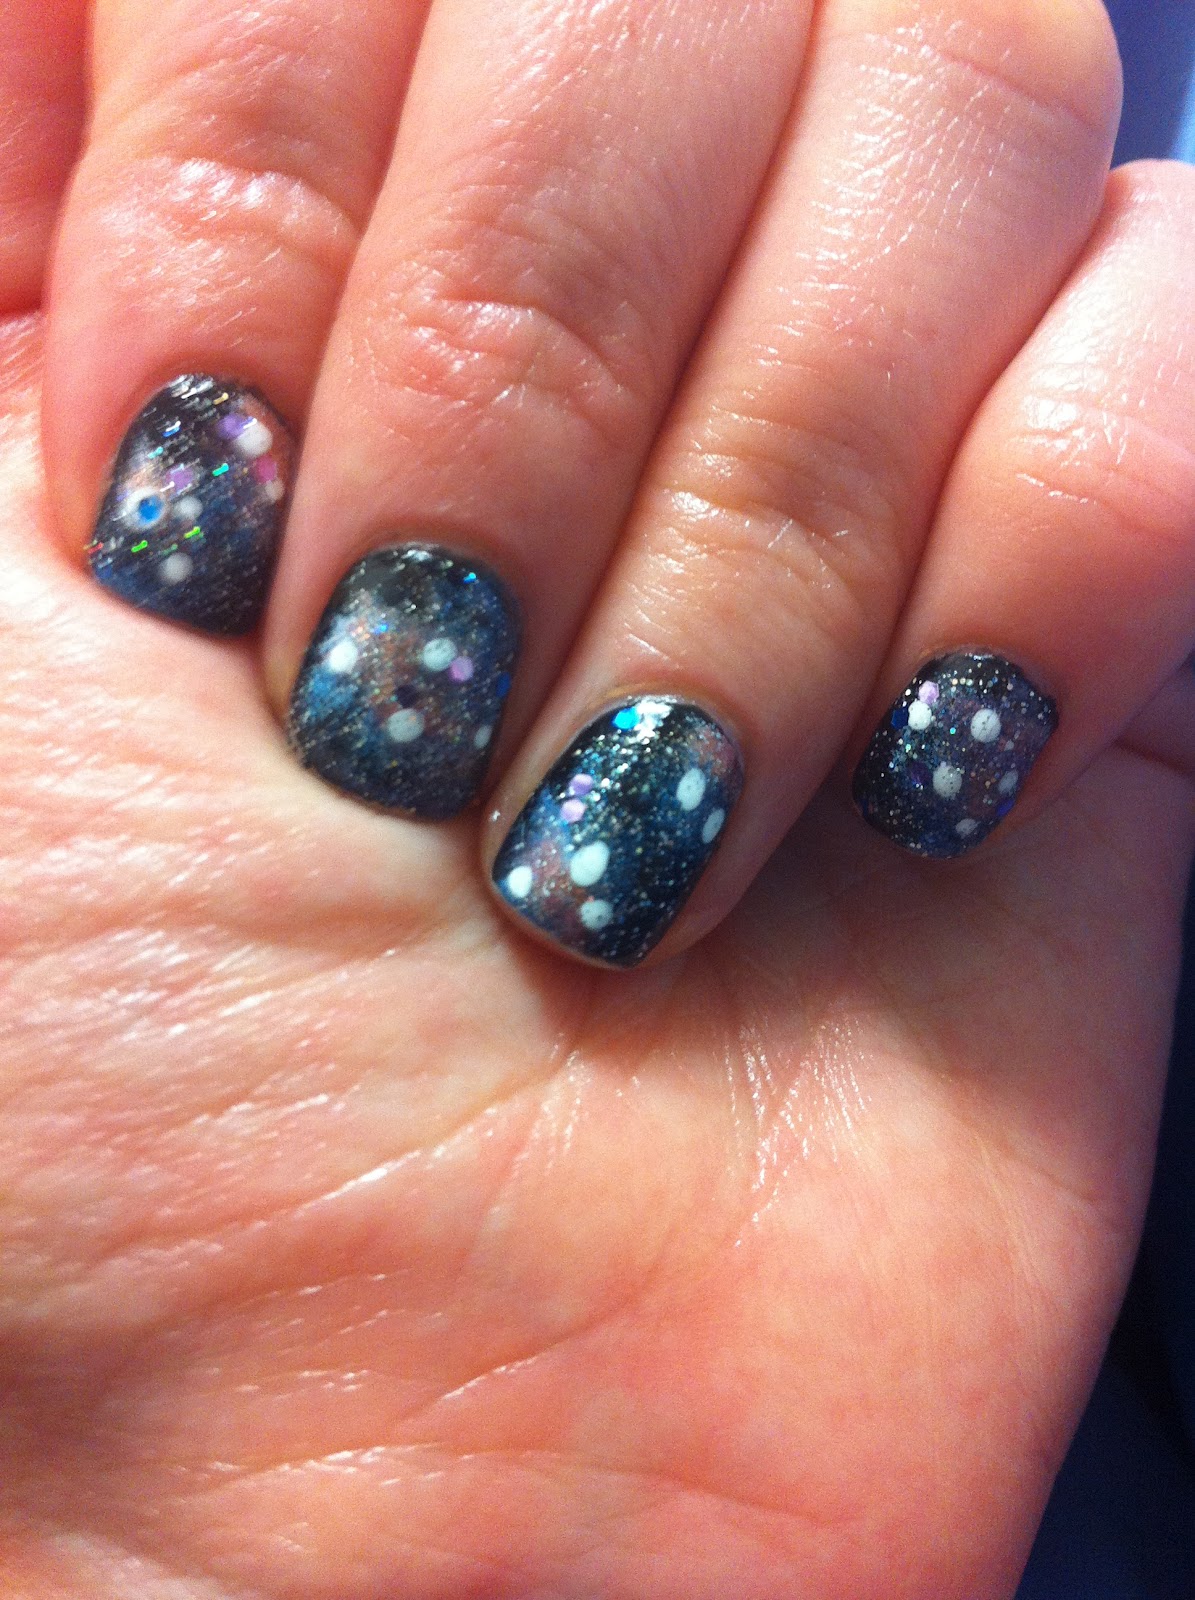
This swatch makes it look slightly more blue-ish than it actually is. Like I said before, It is a grey base with lilac colored glitter.  This is after 4 days of wear, and look, no chips. I do have a little tip wear, but overall, the polish is staying on pretty well. 

What do you think of this shade? would you wear it? Have you tried any other butter london polishes? Do you love them or hate them? 

Also, let me know if you are rocking a cool glitter look this week! 

Tuesday, August 21, 2012

Join me in a nail art challenge!

Starting tomorrow I am going to do a new nail art challenge each week!  You should all join me in doing this nail art challenge!  Sometime during each week,  I will post a new manicure and explain each technique to you! If you decide you want to try it, send me a picture of your manicure or show it to me next time we see each other and I will post it on my blog as well!

Below are the themes for each week


Design 1 - Glitter
Design 2 - Tape manicure
Design 3 - Floral Wallpaper
Design 4 - Galaxy
Design 5 - Gradient
Design 6-  Newspaper
Design 7 -  Famous artwork inspired
Design 8 - Water Marble
Design 9 - Animal print
Design 10 - Marine Life
Design 11 - Seasonal (Christmas, Easter, St. patrick’s, Halloween, etc.)
Design 12 - Abstract Shapes
Design 13 - Zigzags
Design 14 - nail foil
Design 15 - Beloved Childhood Character (Hello Kitty, Mickey Mouse, etc)
Design 16 - half moon
Design 17 - Video Game
Design 18 - Butterfly wings
Design 19 - Fruit
Design 20 - Splatter
Design 21 - Alice in Wonderland
Design 22 - Fans pick! (you guys tell me what to do)
Design 23- Feathers
Design 24- Lace


If you want to send me pictures of your manicure just leave me a message and I will tell you my e-mail.

Sunday, August 19, 2012

Disco Diva Nails!

Glitter nail polish is a great way to add a touch of sparkle to an otherwise plain manicure. But, unless you put about 30 coats of polish on there, glitter lacquer won't ever give you full glitter coverage. What happens when you want IN YOUR FACE DISCO NAILS because you just absolutely need bling bling in your life?

This is what happens....


Below, you will find an easy technique to get full coverage disco ball nails! 
For this look, you will need the following supplies:

Base coat
Color coat
Clear nail polish that is not quick dry
Small paintbrush
Fine grain glitter

Note: For the fine grain glitter, I used Supernail glitter in Silver Rush. I got it at Sallys Beauty Supply.  Your glitter does not have to be made specially made for nails to be used for this. 

Directions:

1.  Paint base coat on nails, then paint color coat on. Whatever you use as your color coat will be visible through the glitter slightly, so choose one you like!

2.  Take your clear nail polish and stick your paintbrush in it. Get a medium amount on the brush. Then, stick your brush in the pot of glitter.


3.  You should only have a small amount of of glitter on your brush. Paint the glitter onto your nails. If you need to, stick your paintbrush back into your polish and glitter to get more glitter. If it starts to get a little chunky, just use a little more of the clear polish.  

This is about the amount of glitter you need on your brush for a smaller nail. 

4.  When you are done, use a top coat. I used Seche Vite instead of my typical Revlon because Seche Vite is thicker, and will cover up the texture of the glitter. That way, if I touch my nails they are nice and smooth. Here is the finished manicure again!